How to use Jira Mobile
Get started
Download, verify, invite. With Jira Cloud for iOS or Android, the power to move work forward in Jira is in the palm of your hand.
- Download the app for iOS or Android.
- Open the app and follow the prompts to sign up for an account, or log into an existing account:
If you’re signing up for a new account:- Follow the steps to verify your email address
- Follow the steps to name your new Jira site
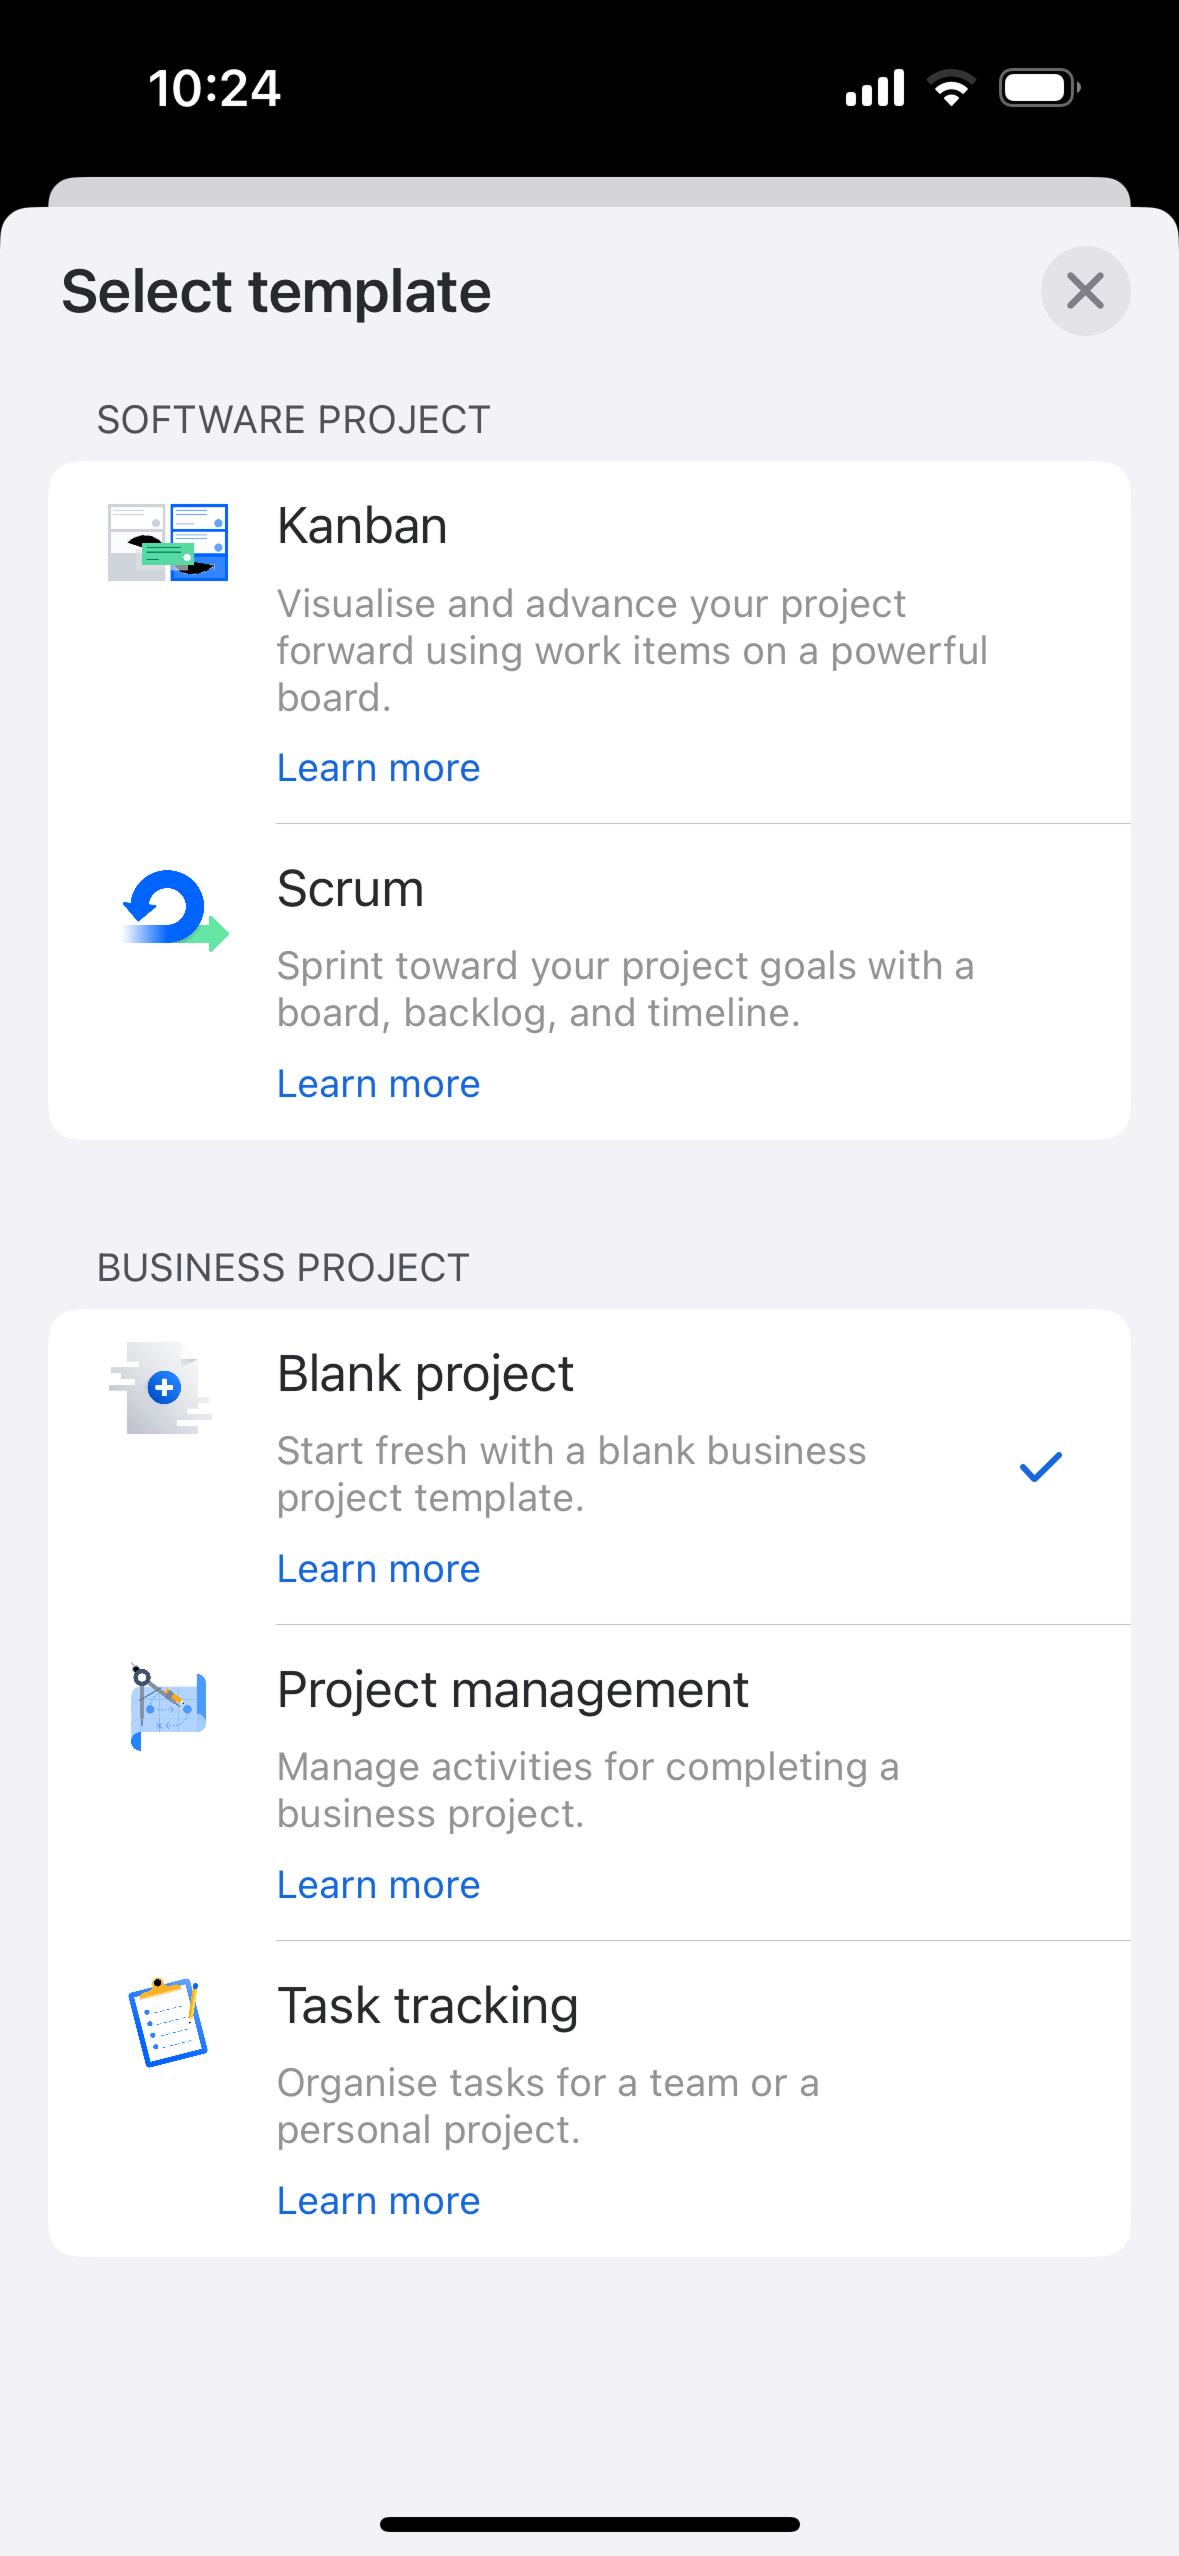
Note: If you select scrum or kanban, your project type will be team-managed, rather than company-managed. To use a company-managed project type on mobile, create the project via Jira Cloud for web.
- Invite your teammates to join the project. Select your account avatar, then select Invite people to site.
- Start using the Jira mobile app!
Manage columns
Your board’s columns represent work item statuses.
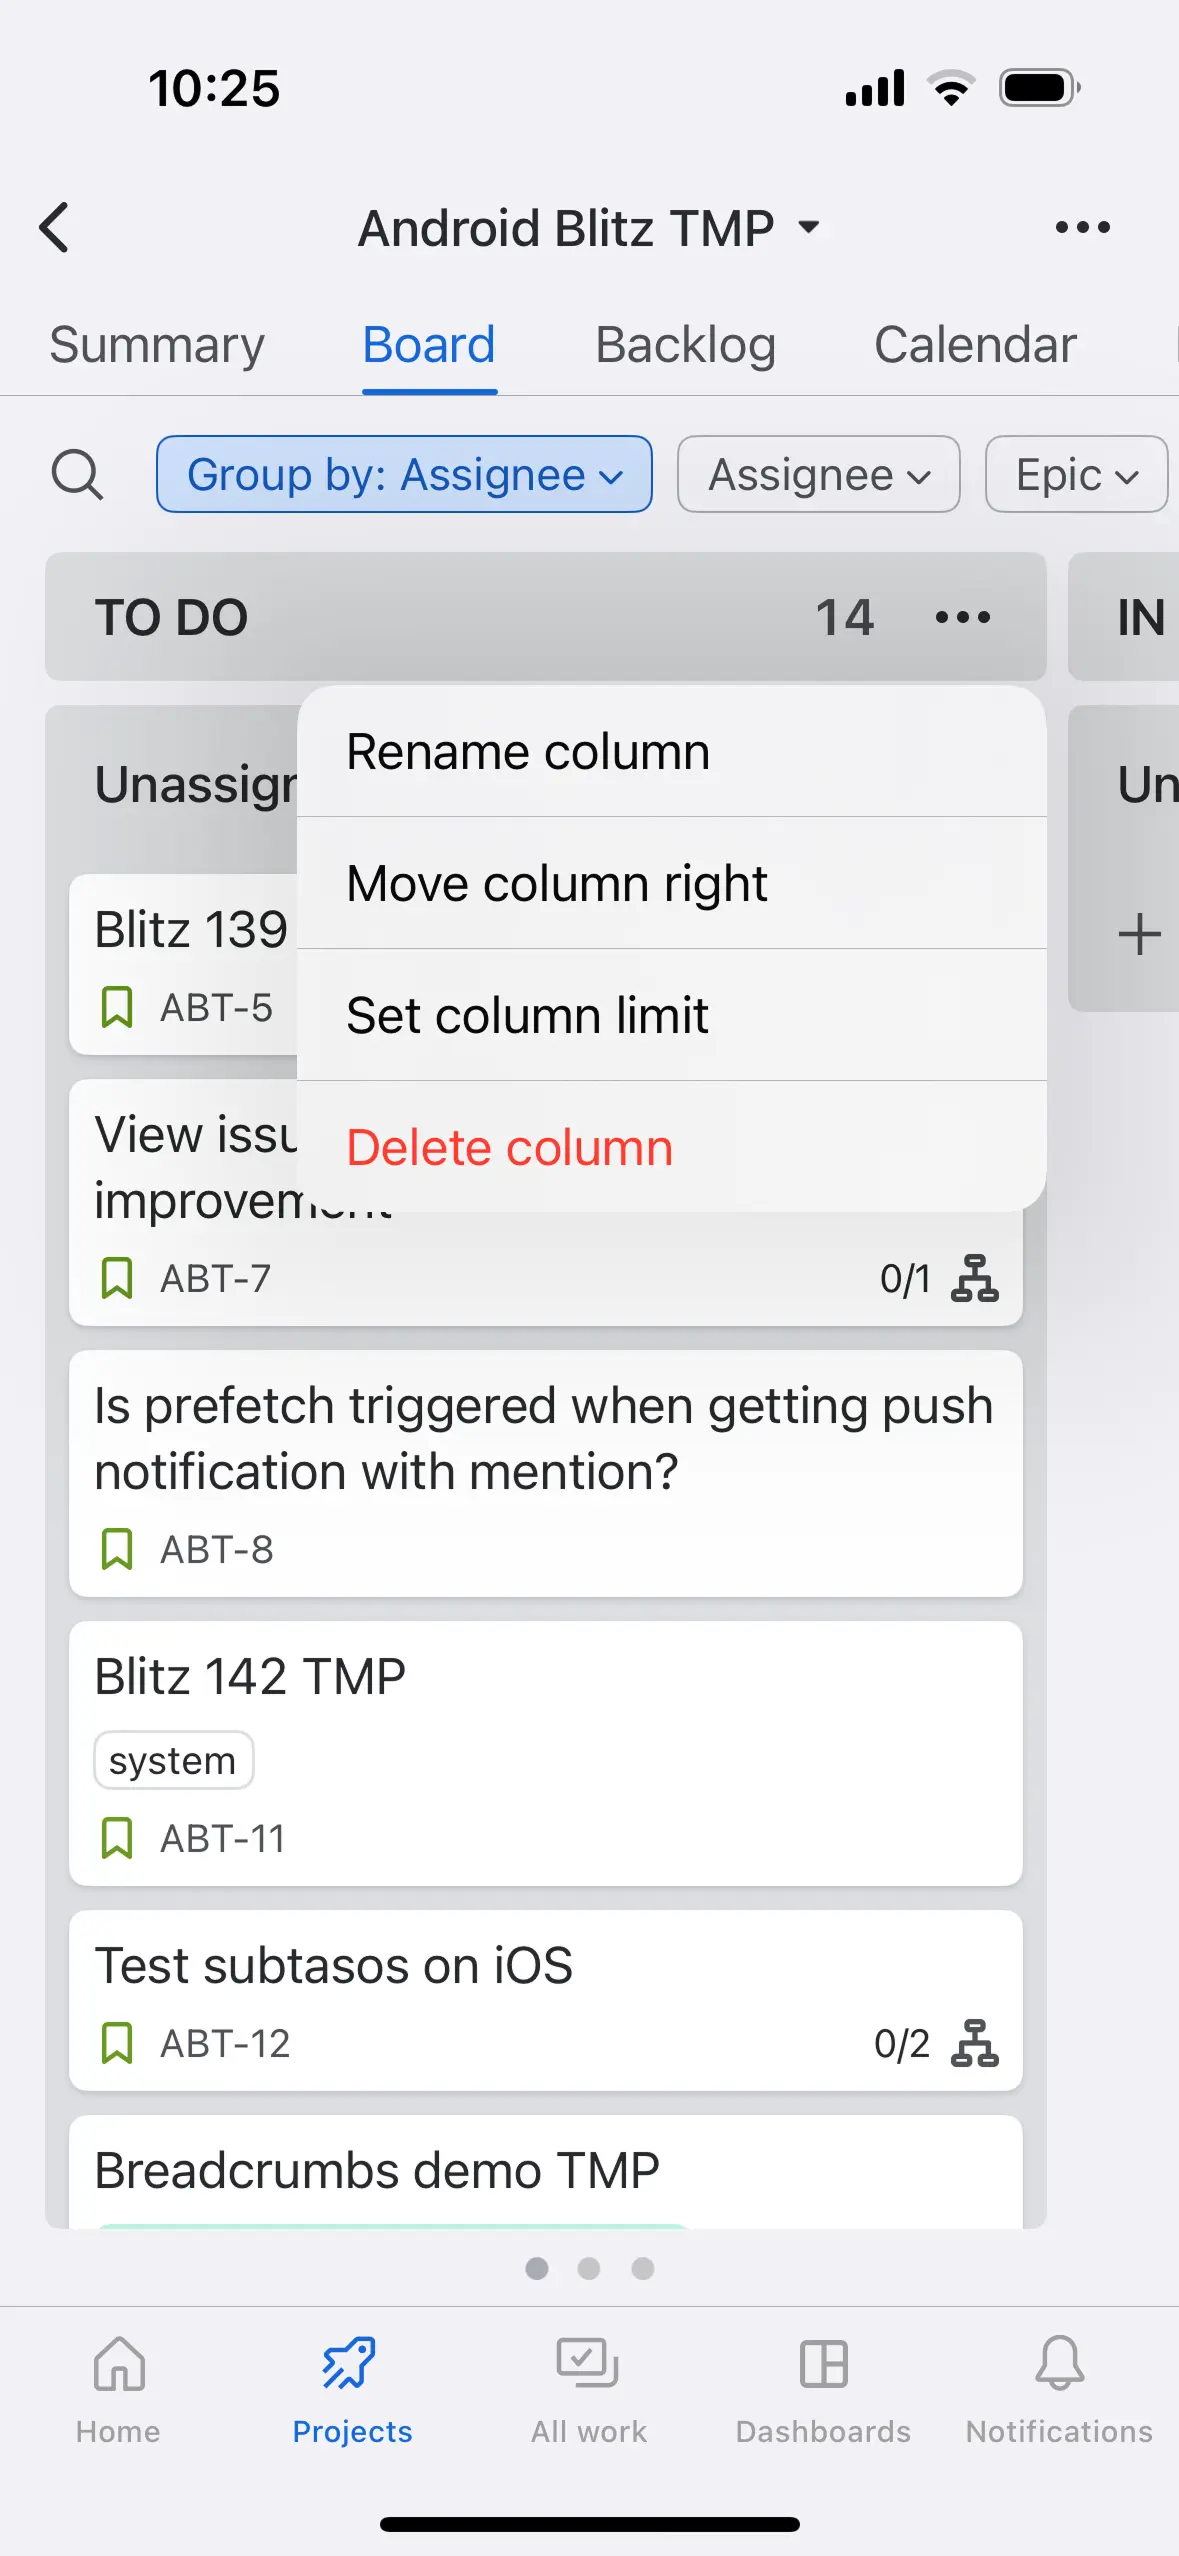
- To edit column names in team-managed projects, select the ‘more’ icon (︙on Android and ••• on iOS) next to the column’s name. (On Android, you can also select the column name to edit.)
- To rearrange or delete columns in team-managed projects, select the ‘more’ icon next to the column’s name.
- To add additional columns to team-managed projects, select the ‘more’ icon at the top of your board. (On Android, you can also scroll to the right of your board and select Add column.)
These same tasks can be completed in company-managed projects via Board settings in Jira Cloud for web.
Create work items
If you’re in a kanban project, select + Create on your board to create your first work item.
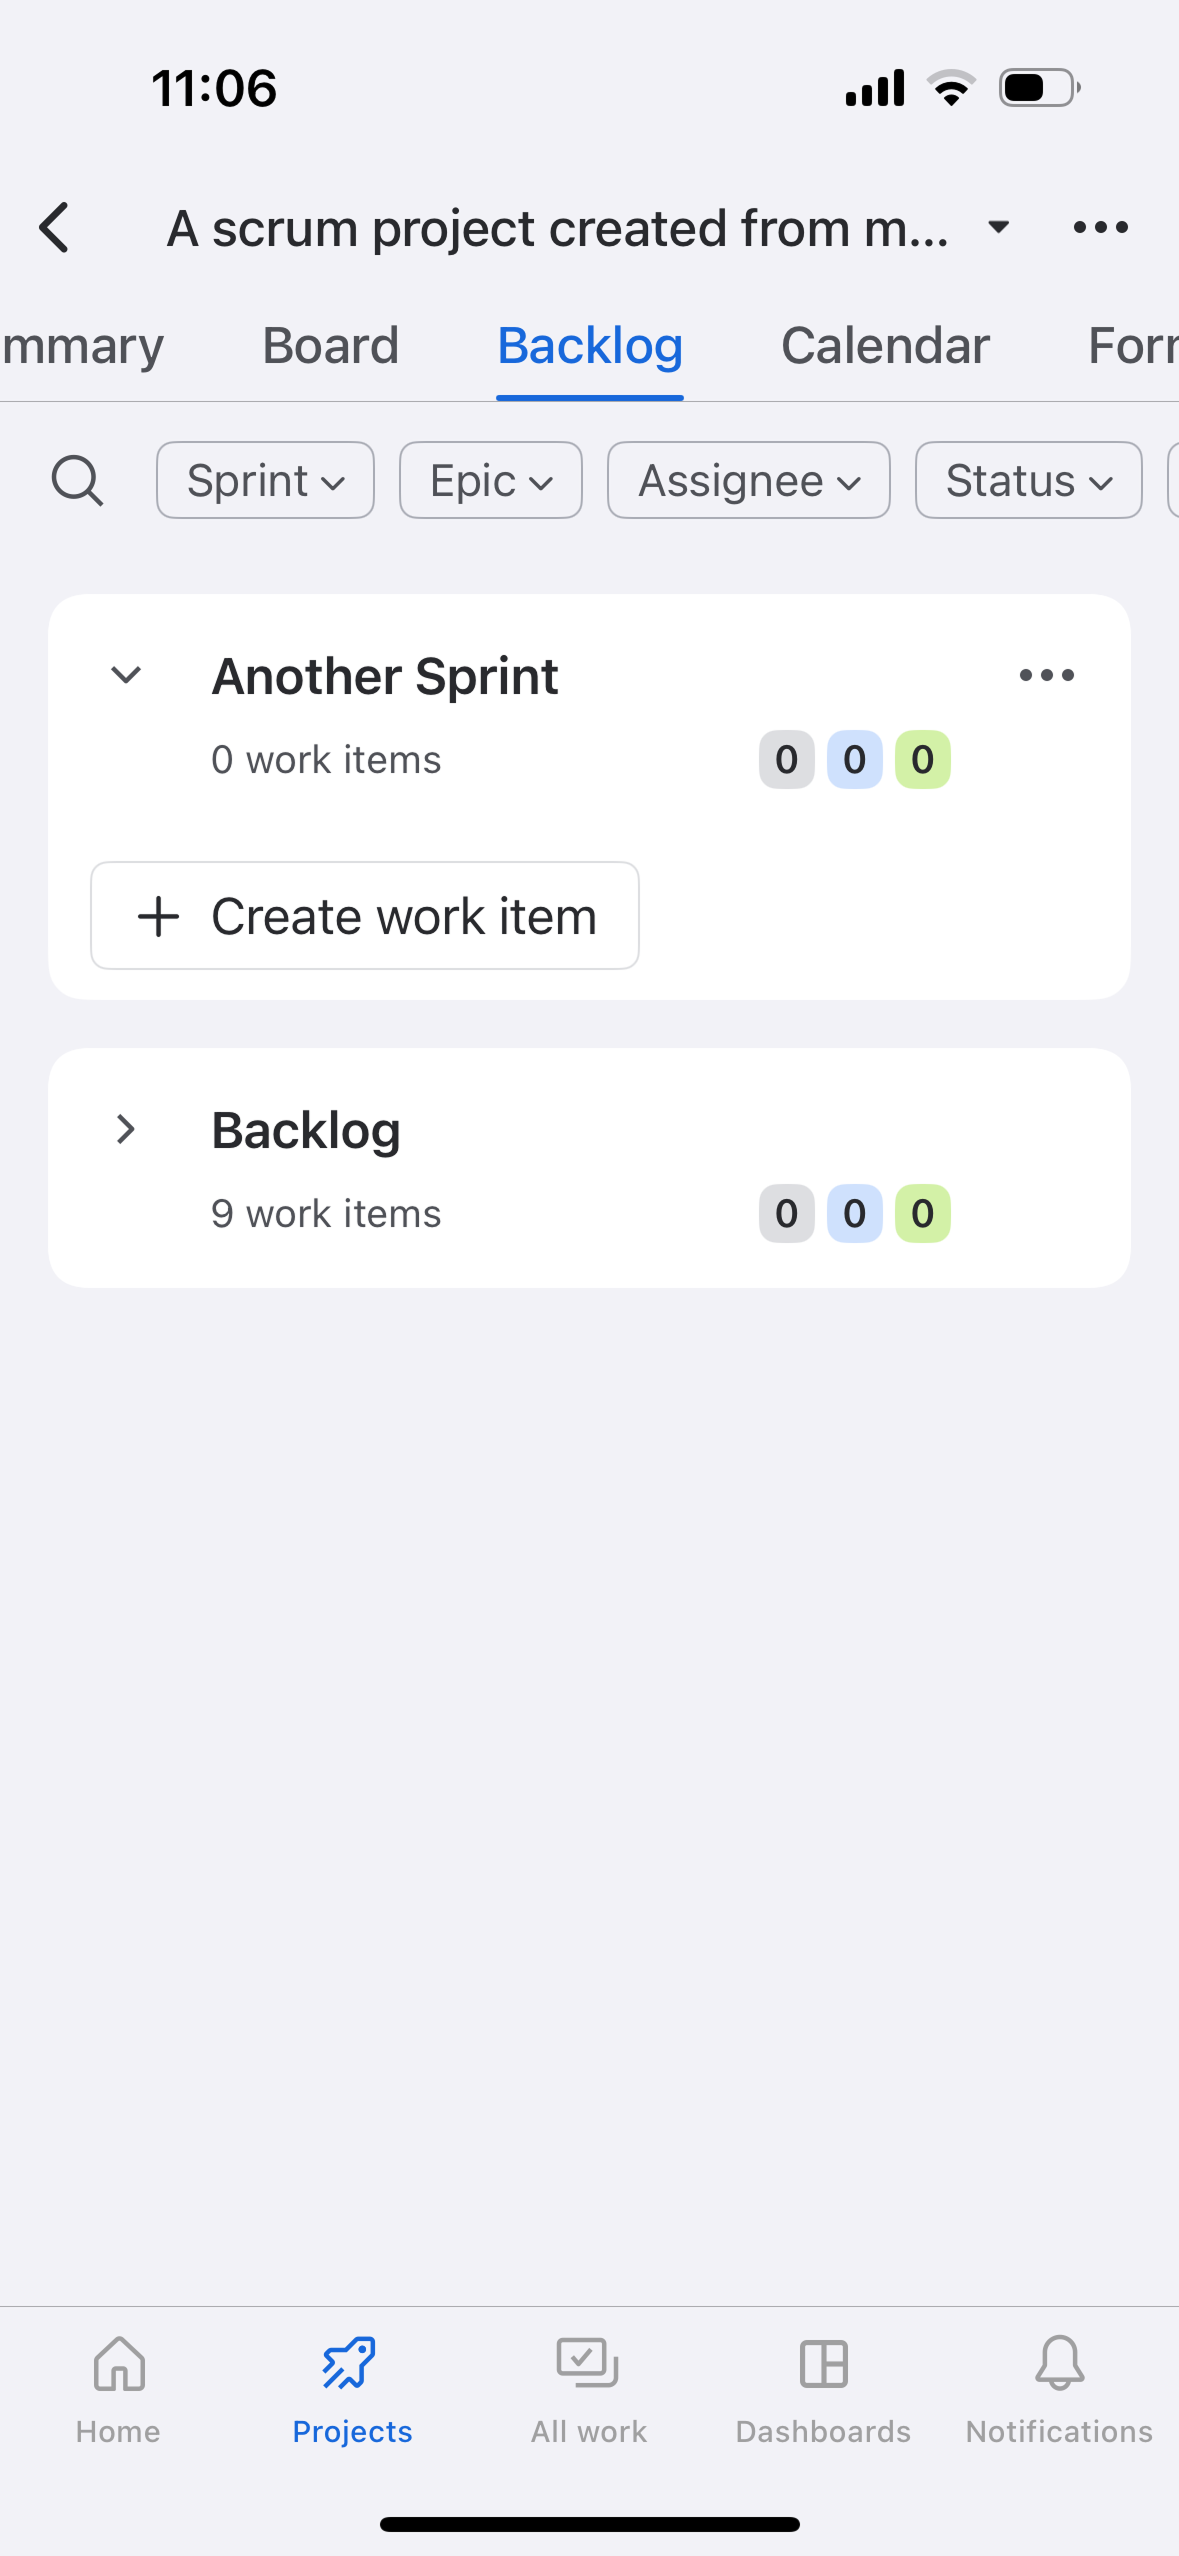
If you’re in a scrum project, you’ll create the first work item in your backlog, and begin working in sprints: go to your backlog, and select + Create.
Update and transition work items
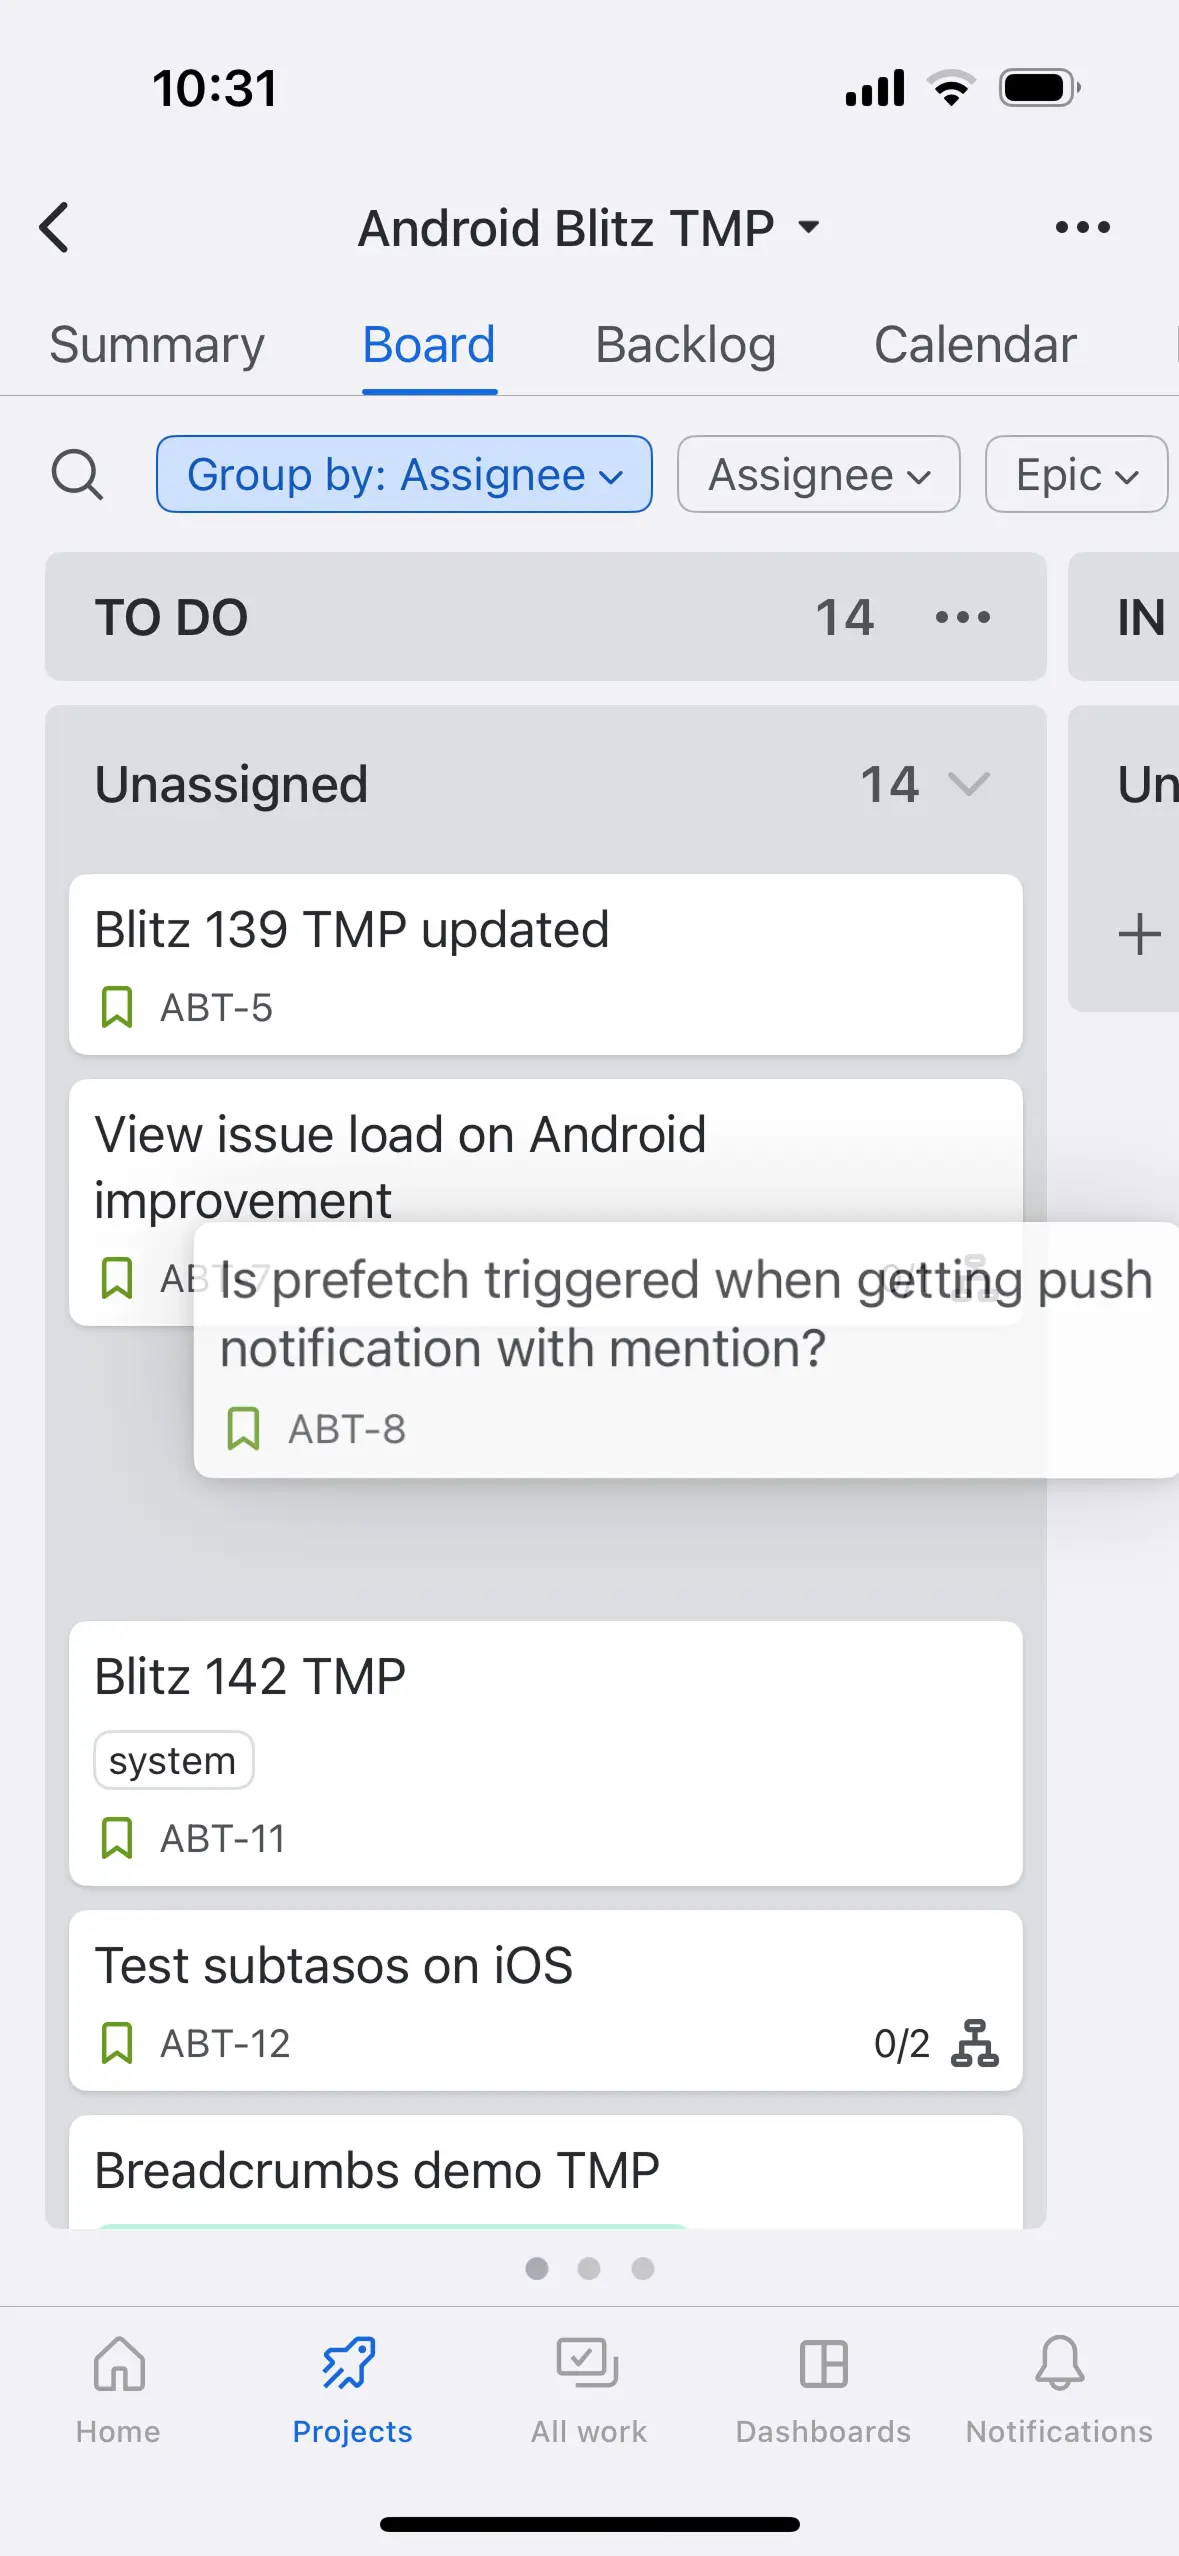
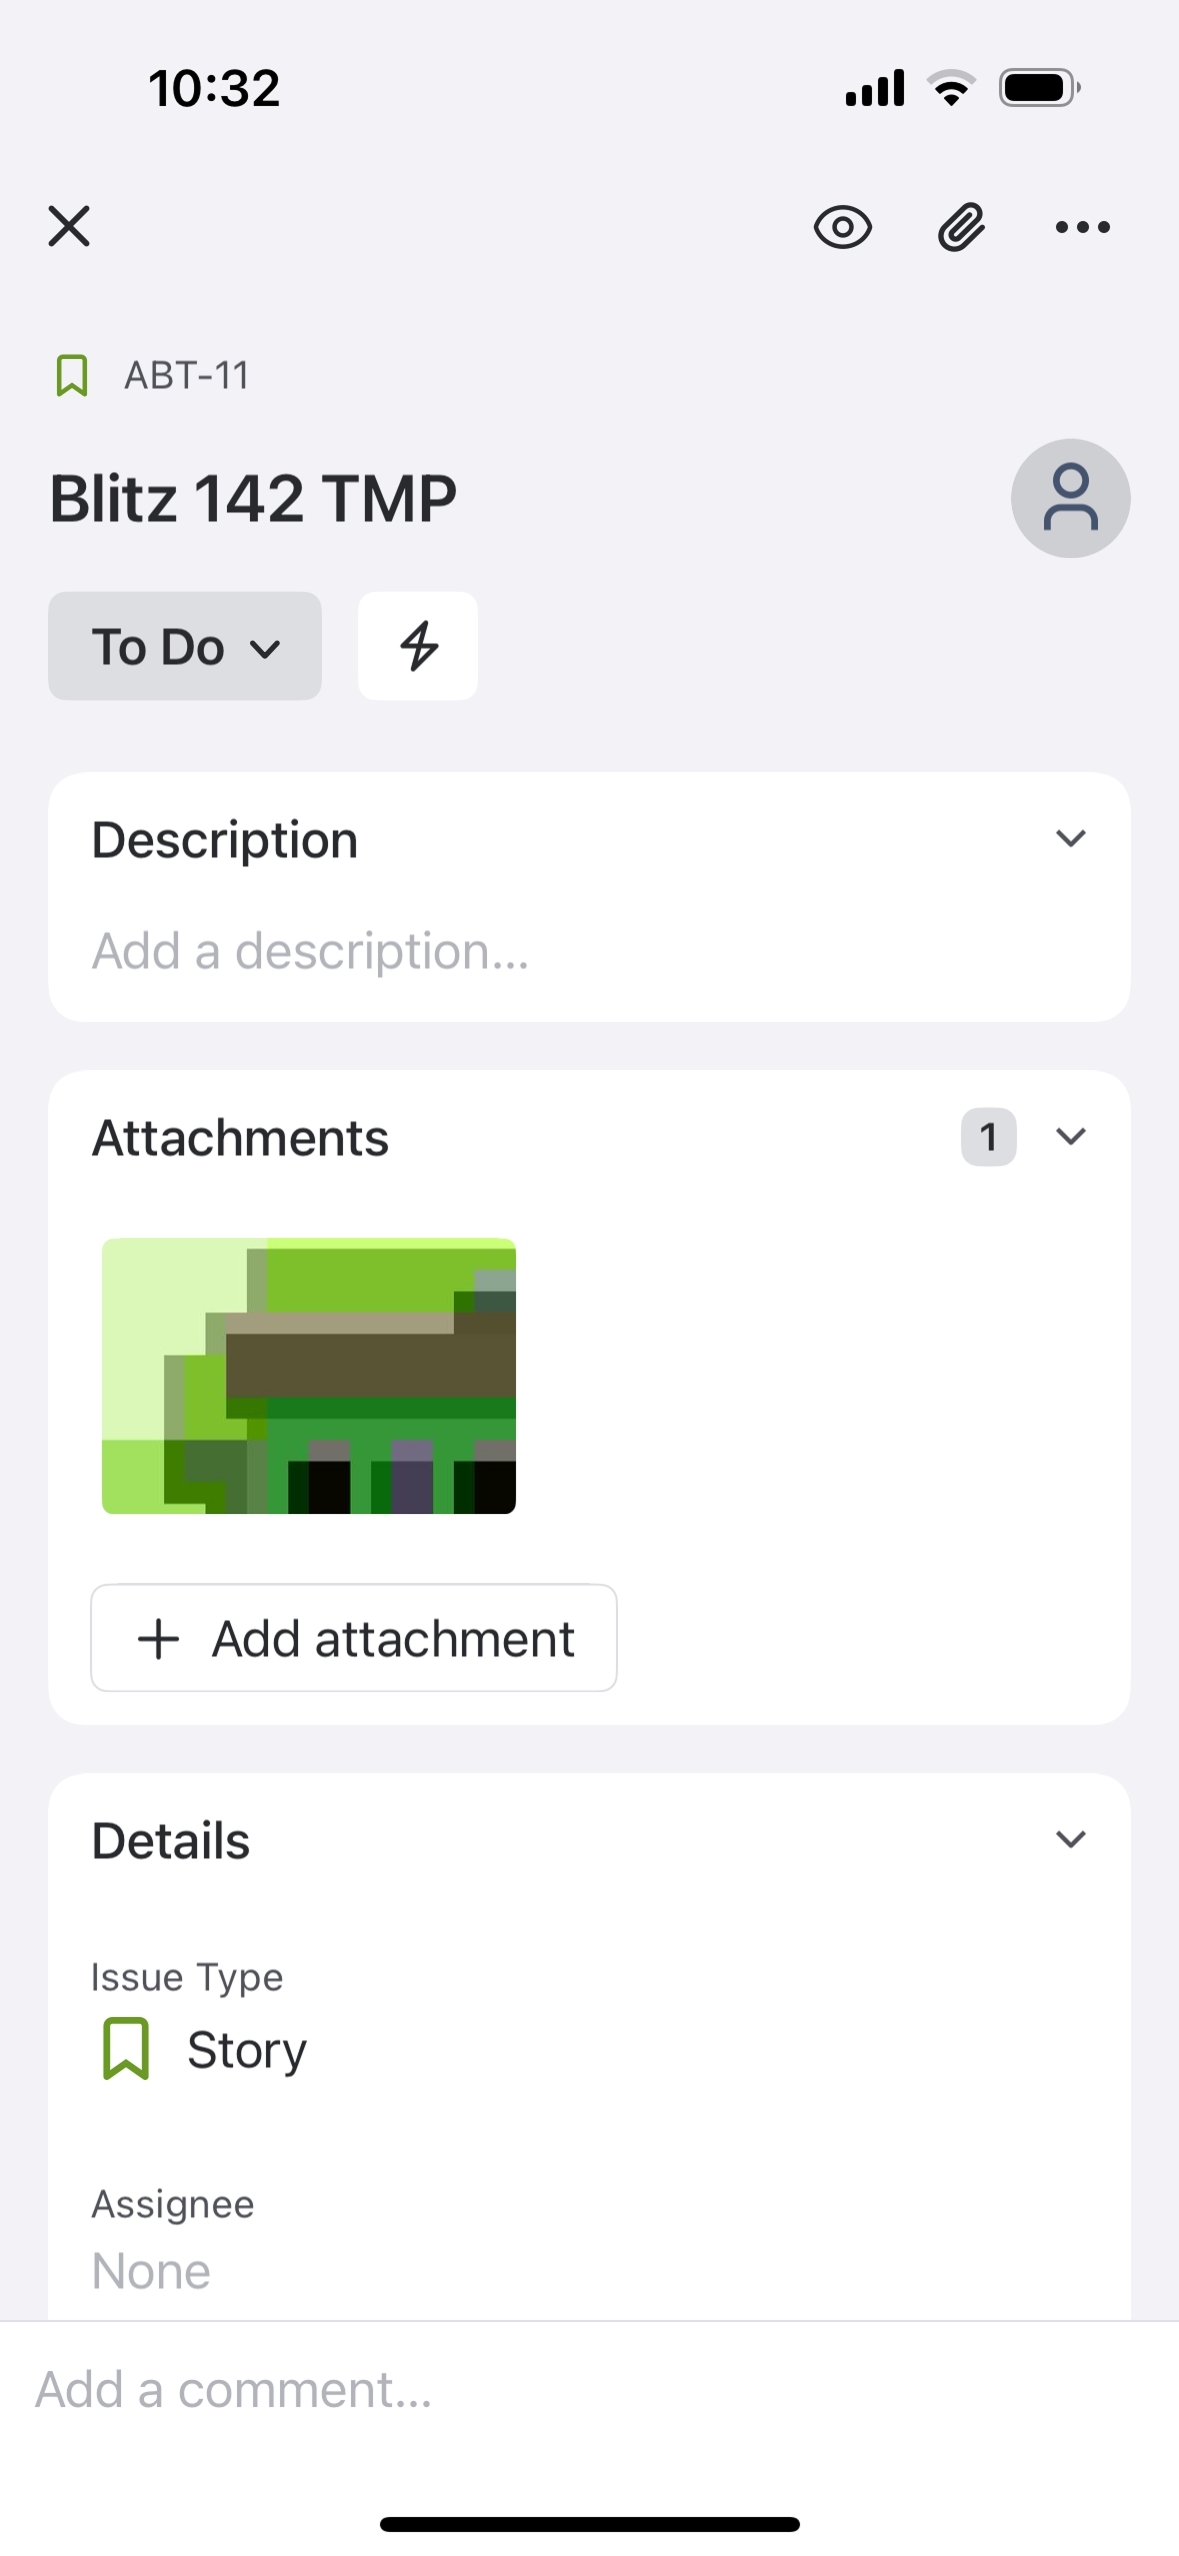
Select a work item to add comments, assign teammates, edit the description, and more; simply select each field to update it. As you complete work, whether that’s in sprints (scrum) or not (kanban), the process for transitioning work items is the same. You can either:
- Drag-and-drop work items between columns on your board
Or:
- Select a work item and update its status via the dropdown menu under the work item’s summary
Add epics to your roadmap
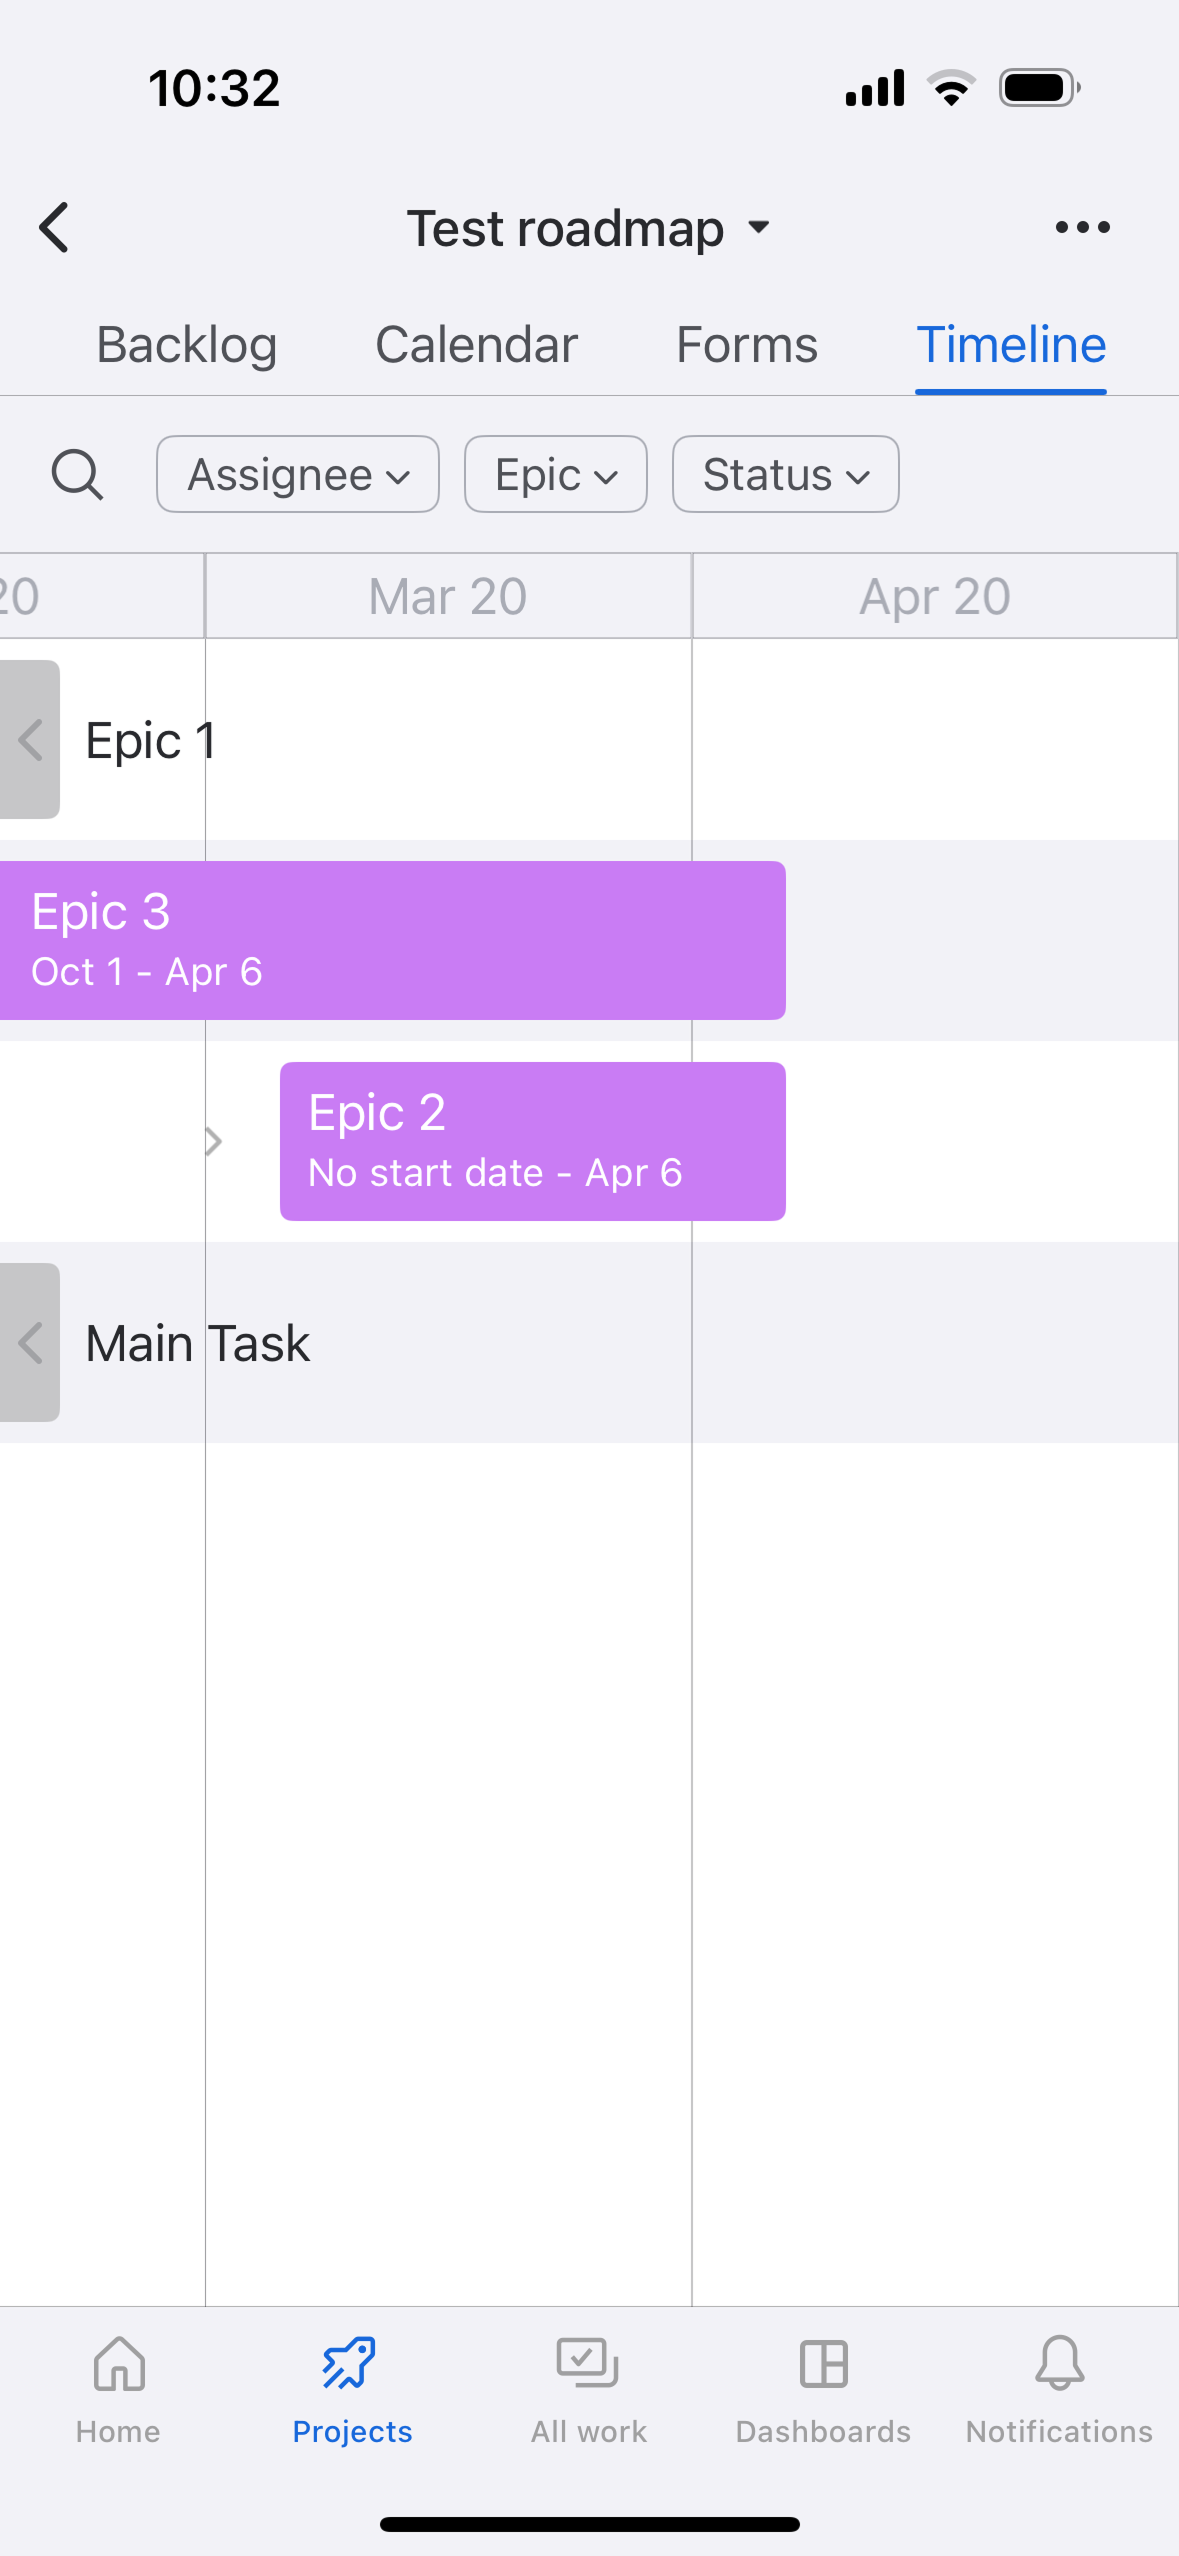
Create a visual representation of your team’s long-term plan by adding epics to your roadmap. Epic colors can be changed via Jira Cloud for web.
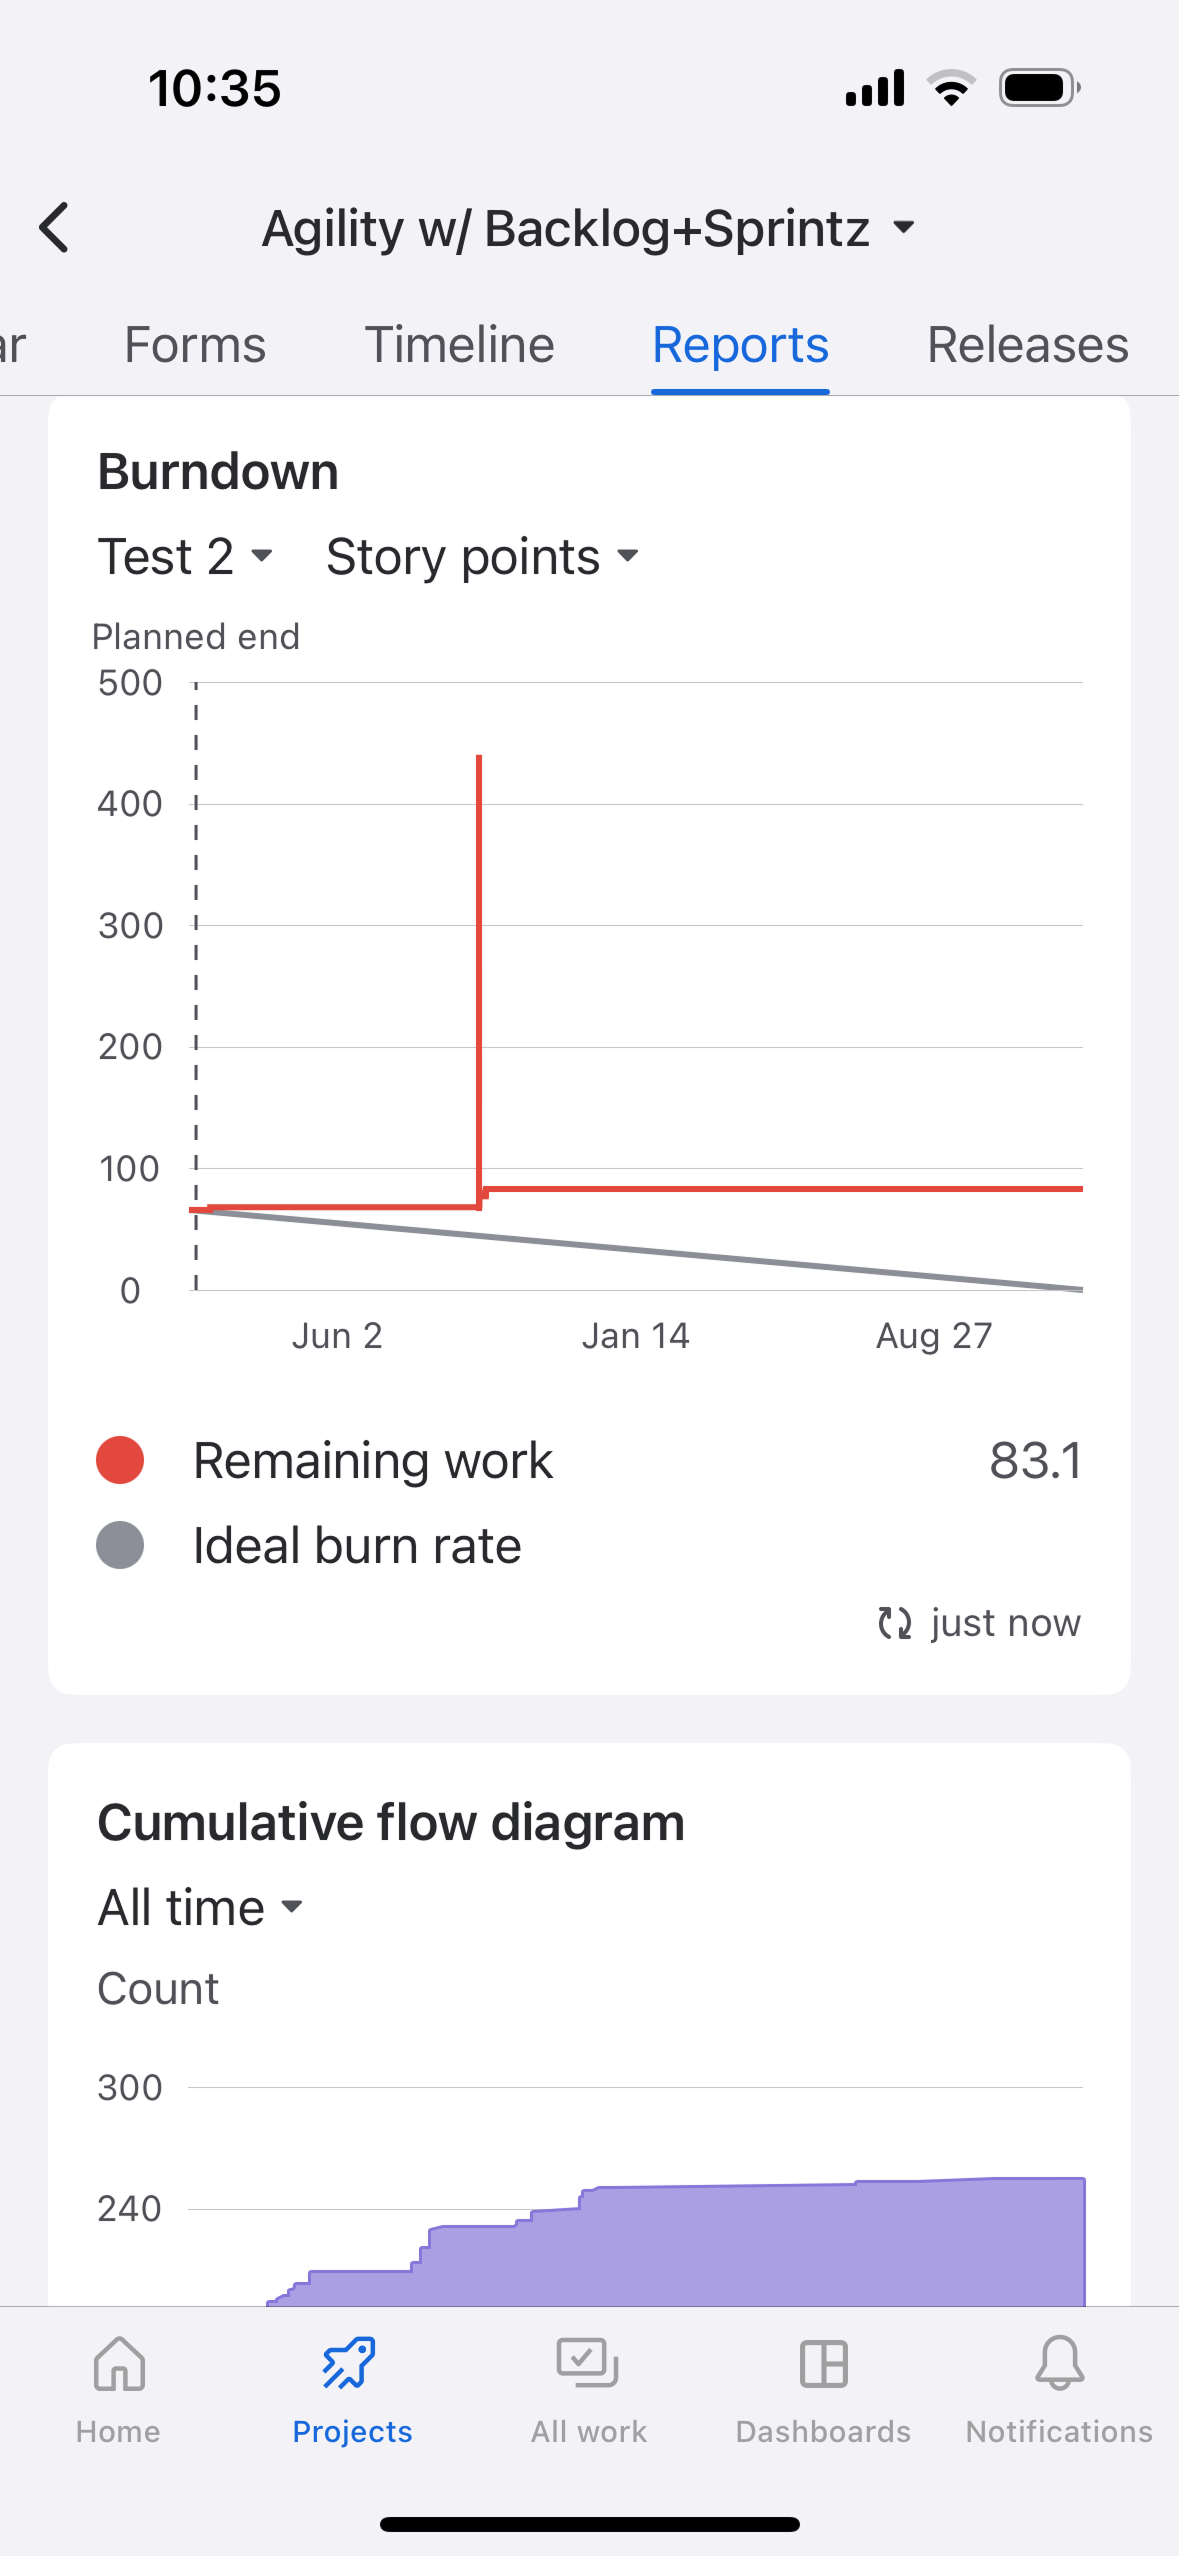
View reports
Track and analyze your team’s progress with reports, including burndown and velocity.
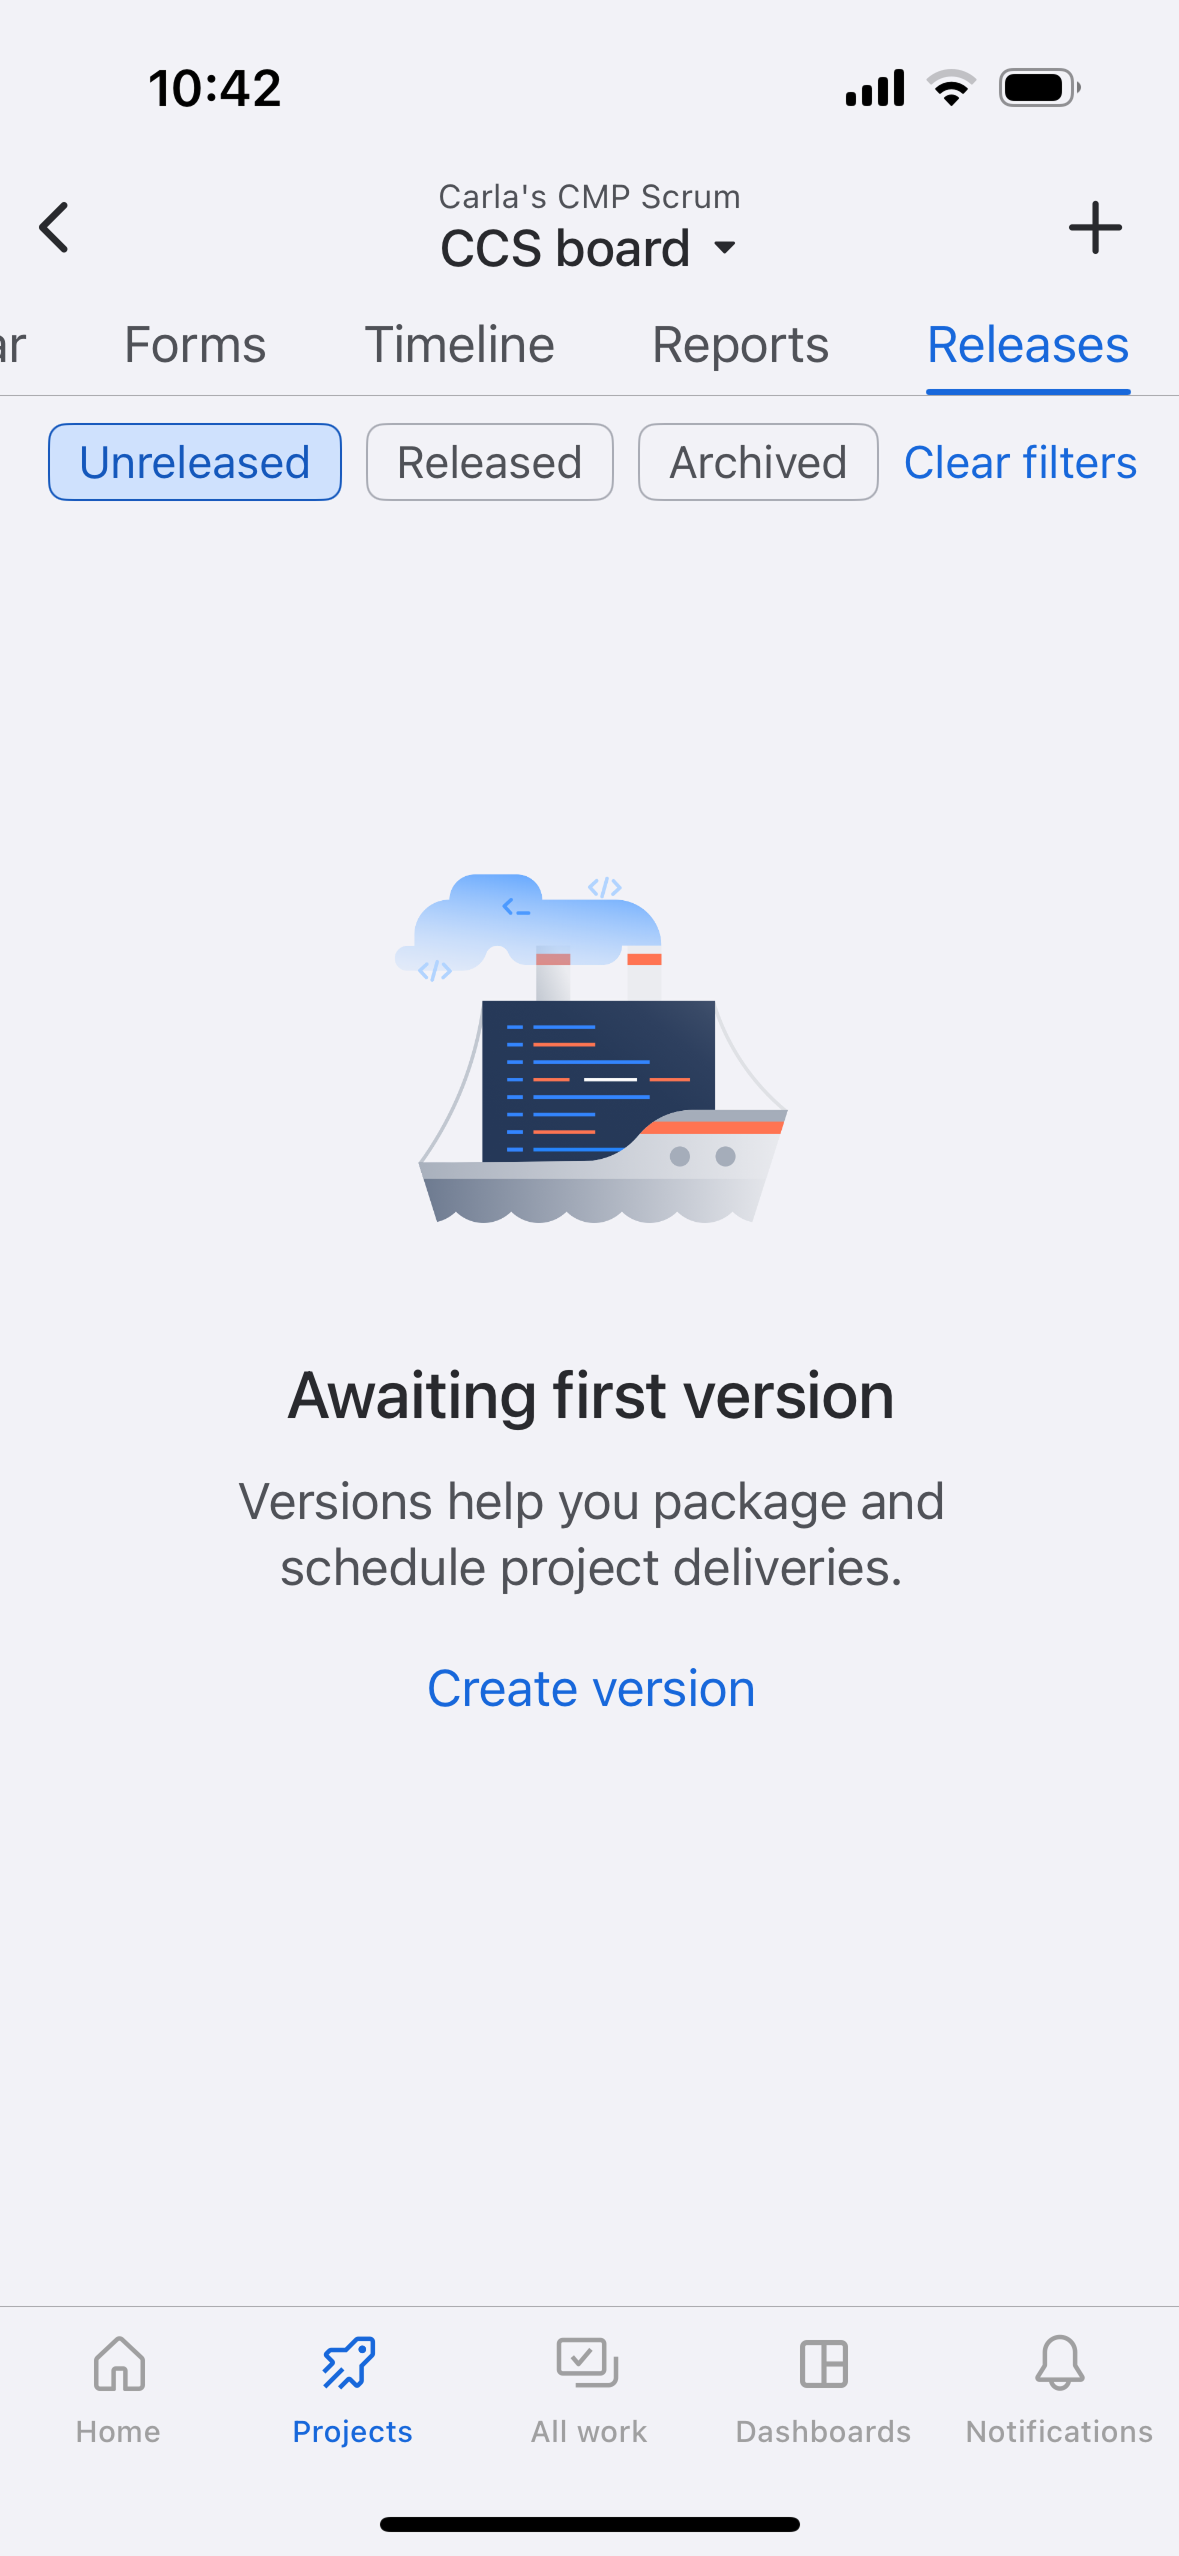
Manage releases
Package your completed work into releases, ready to ship. View critical release information including builds, commits, and overall status updates.
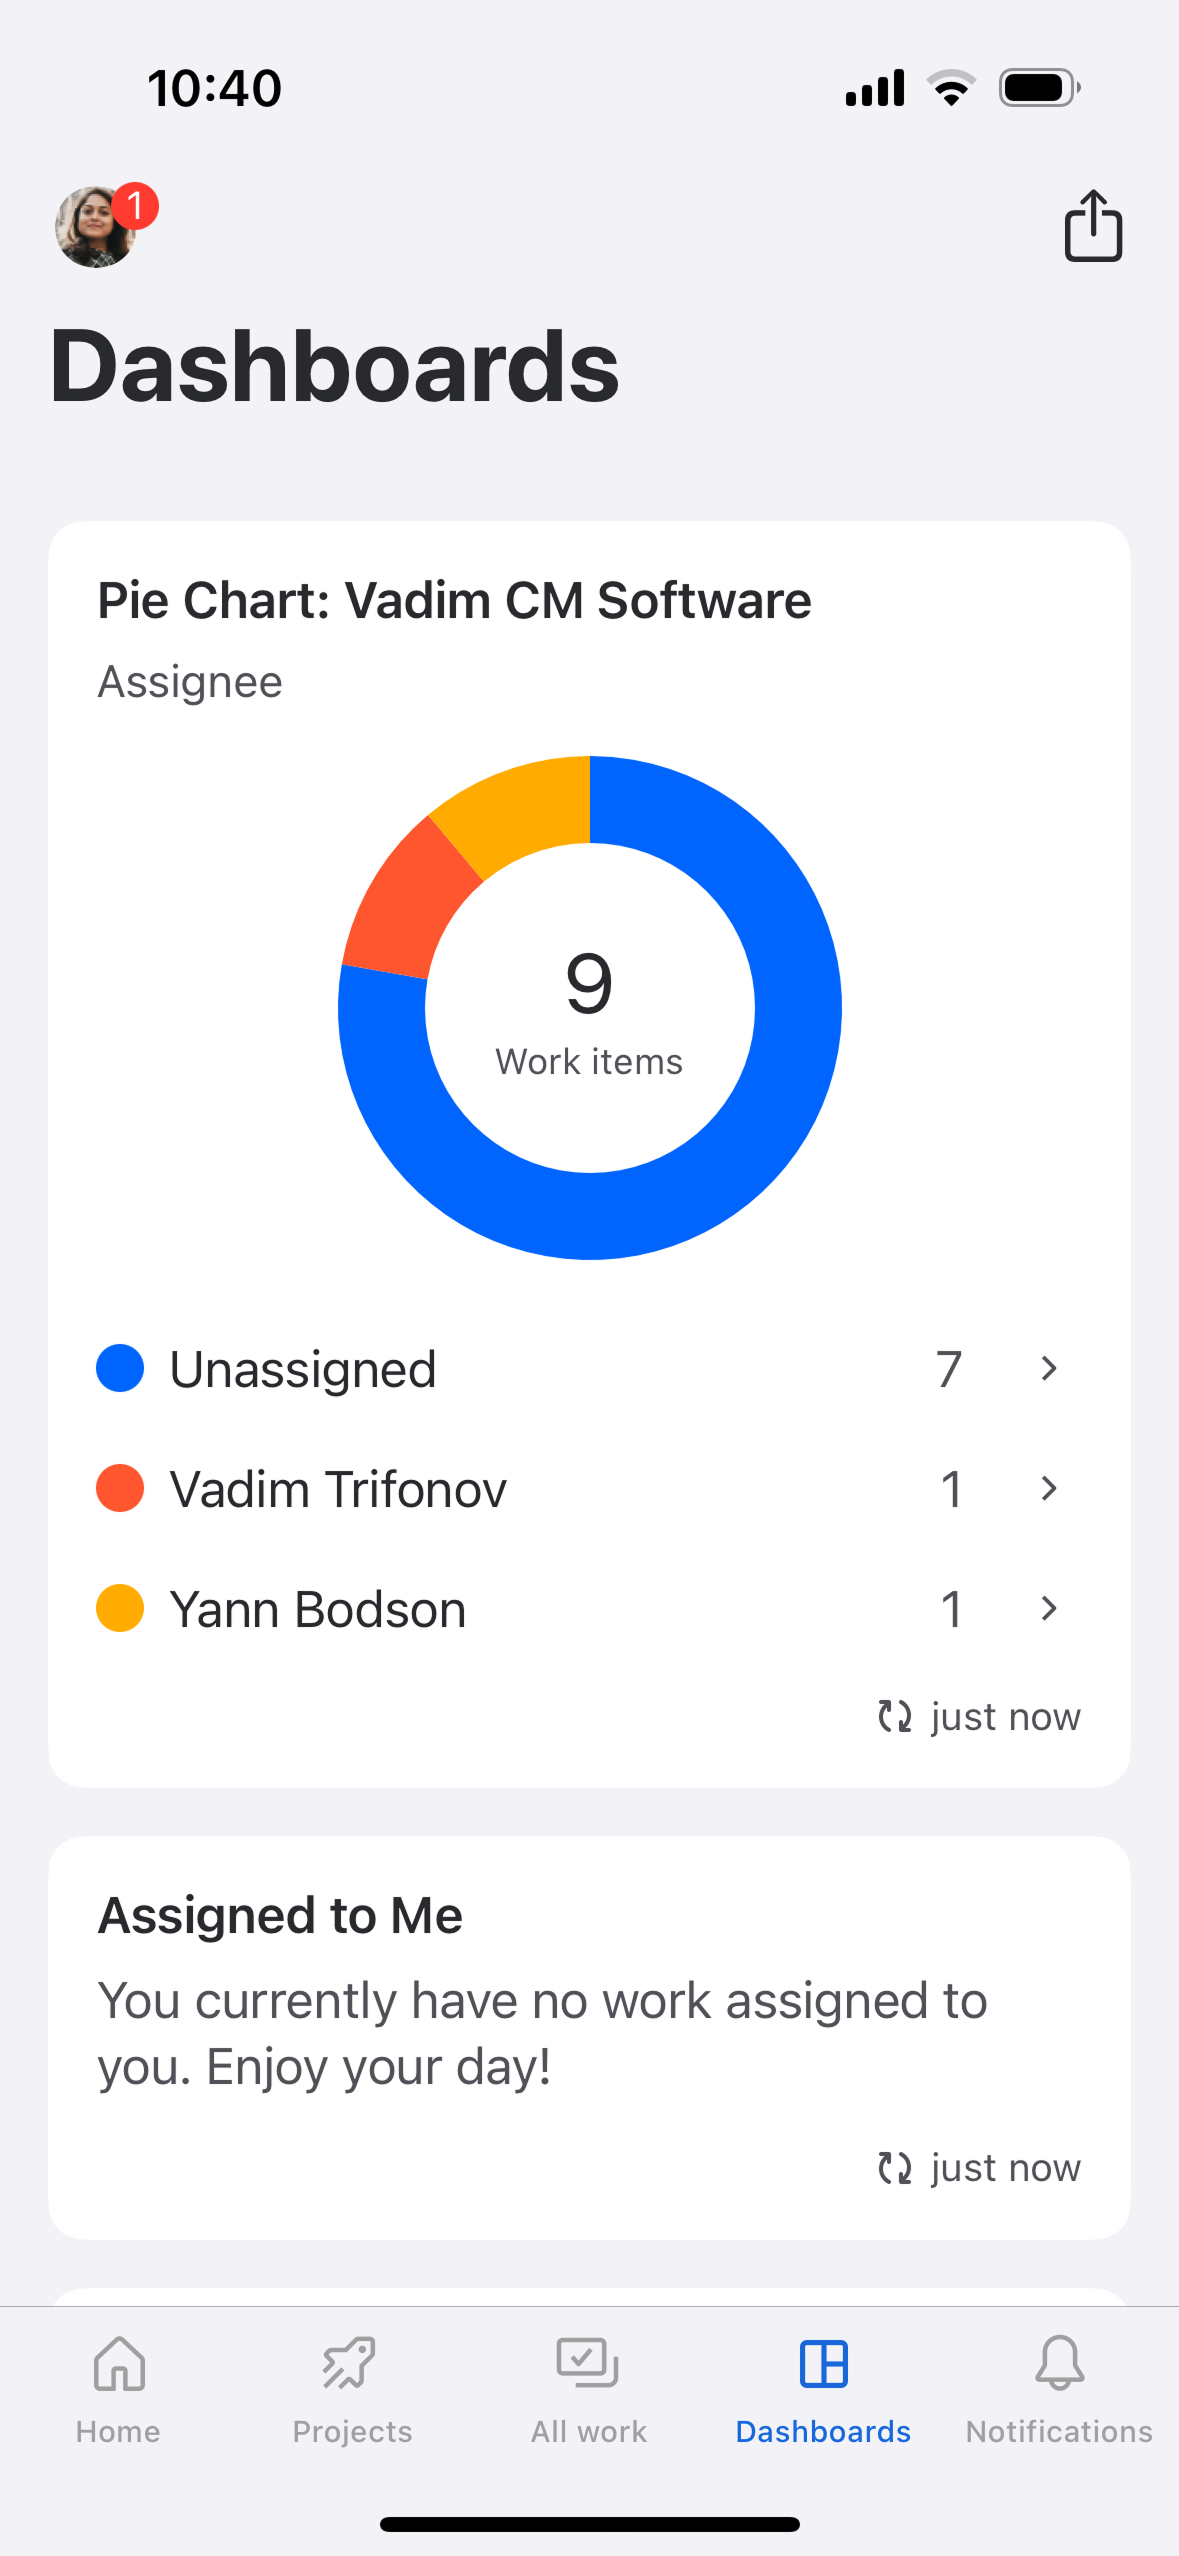
Monitor work with dashboards
Create your own personalized dashboard via Jira Cloud for web, and view it in the Jira mobile app.
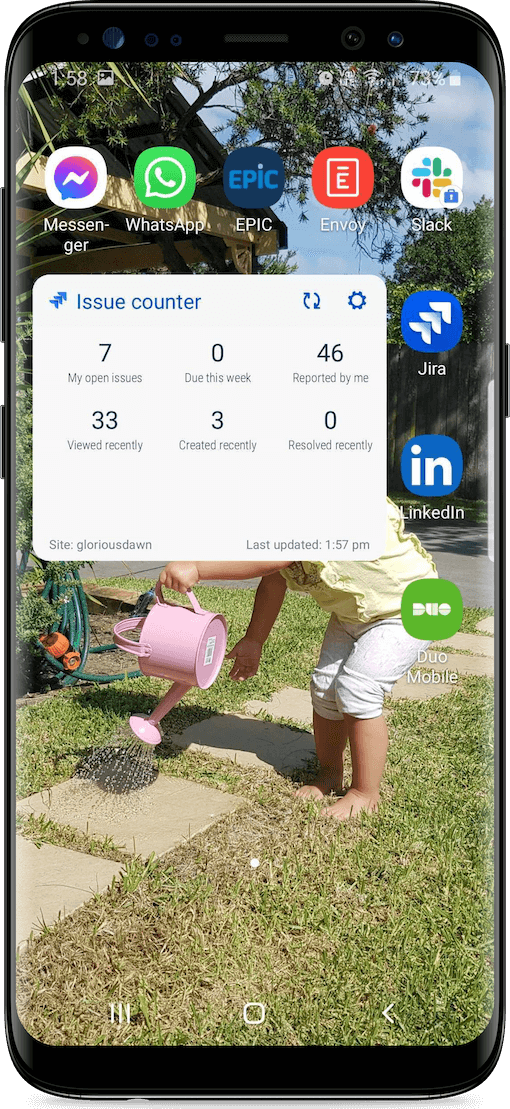
Track progress with widgets on your home screen
Keep an eye on work items with a widget (or two) on your device’s home screen. You can add multiple widgets, and choose multiple work item filters.
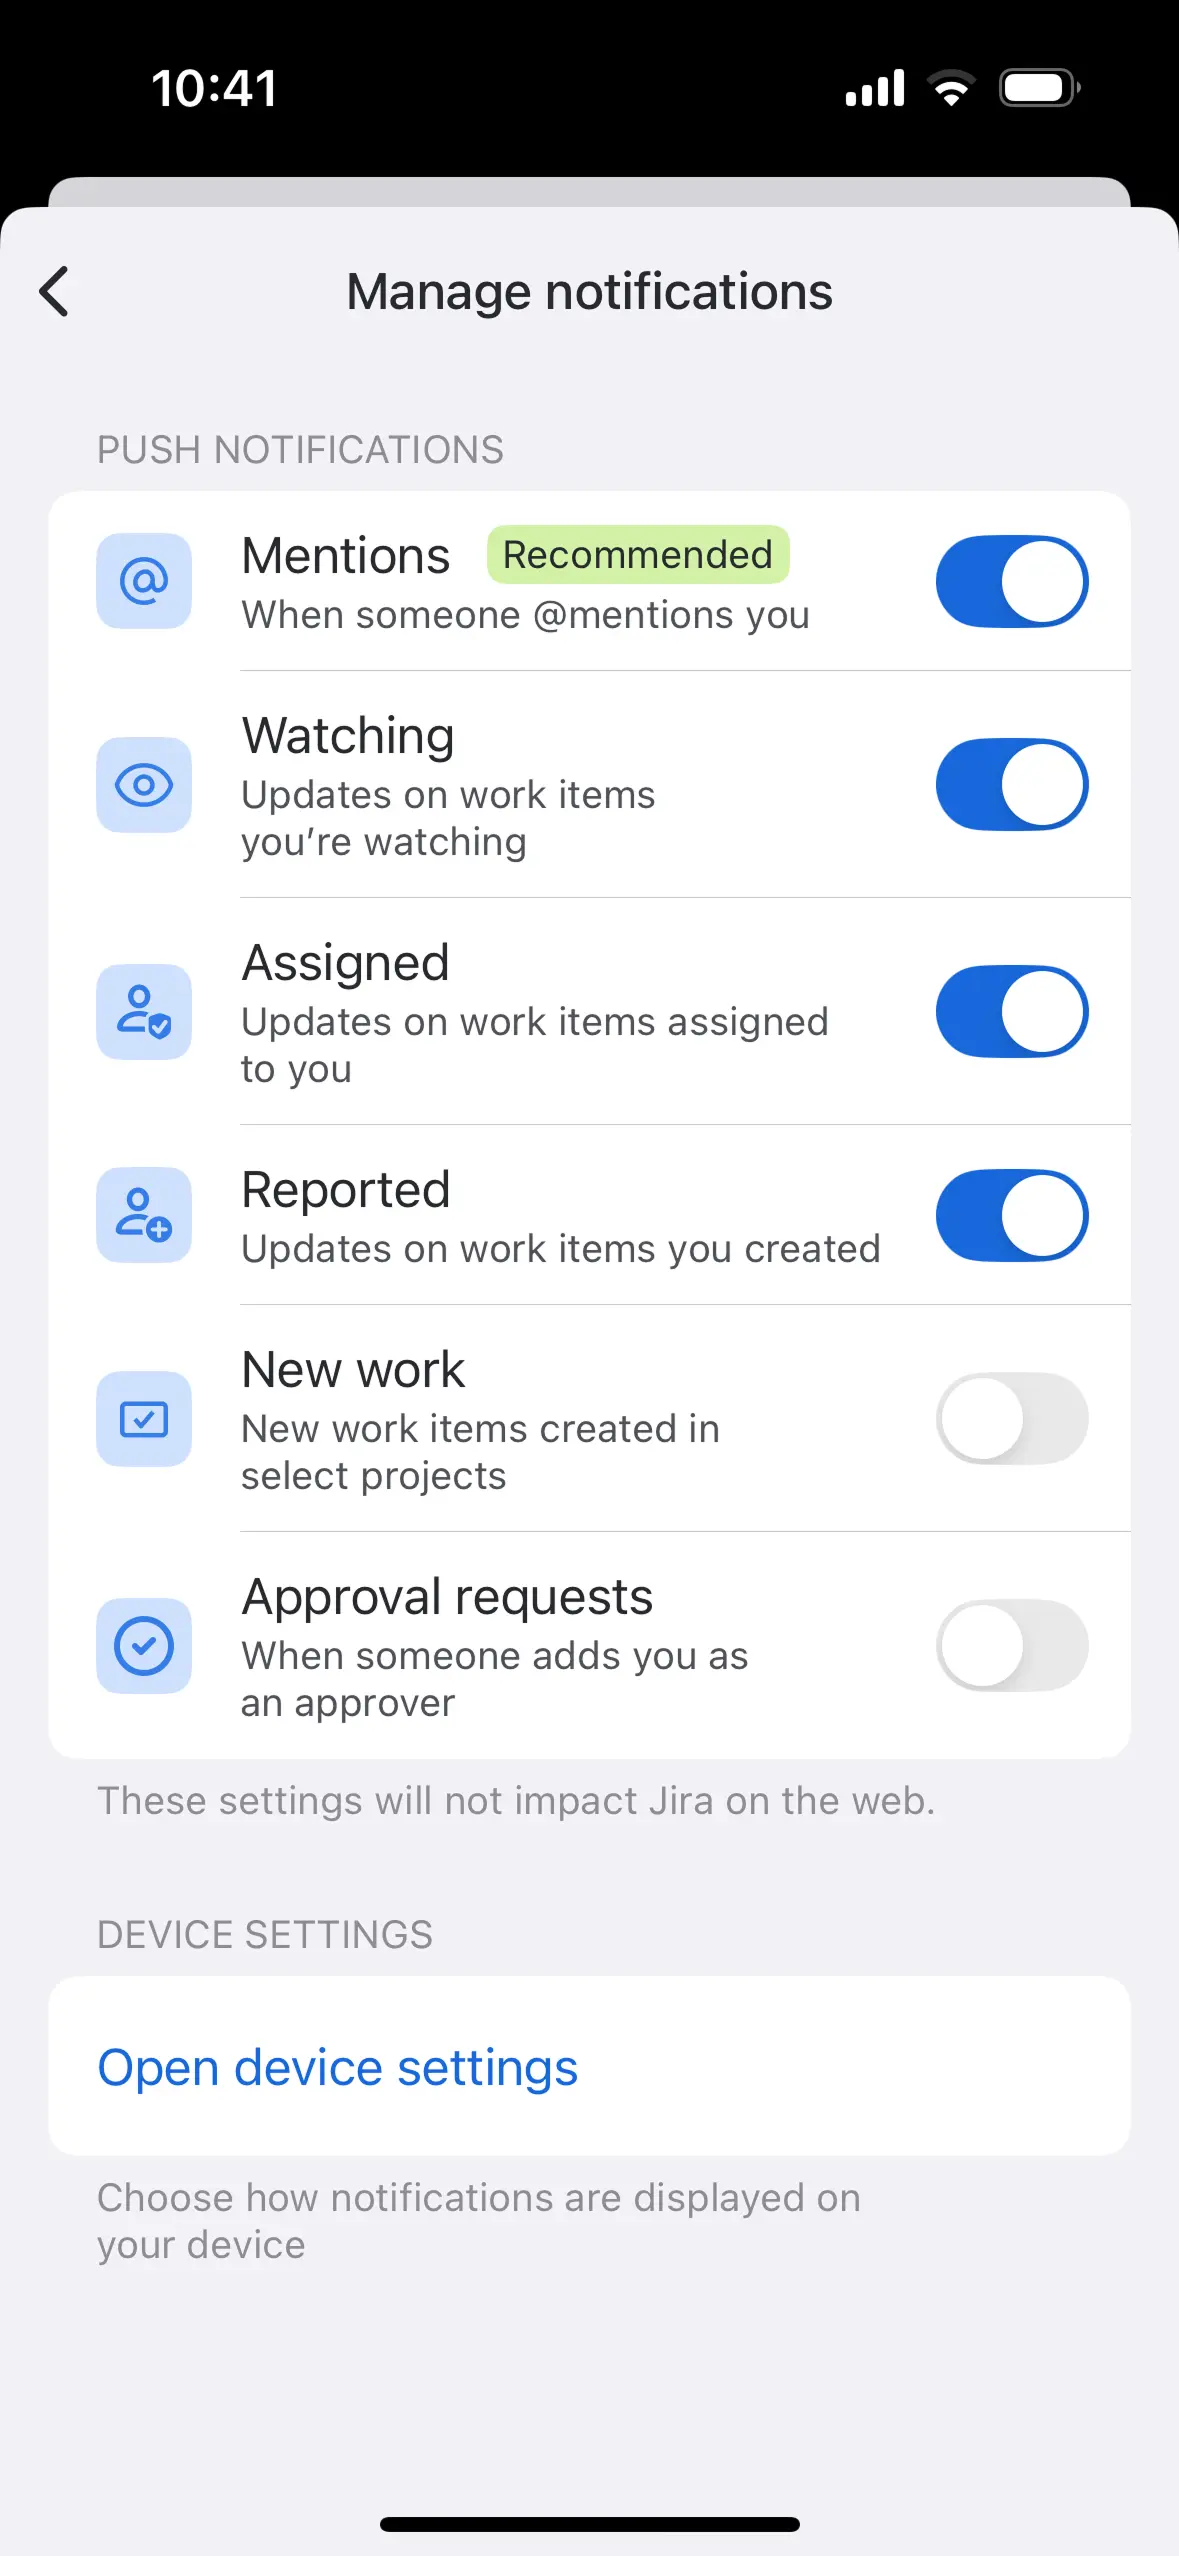
Enable push notifications
Receive push notifications and stay up-to-date wherever you are. You can even reply to comments on push notifications without opening the app. On iOS, long-press the notification and select Reply. On Android, pull down on the push notification to reveal more options.
To access push notification settings, either:
- Select your avatar (account settings) > Push notifications.
or - Select Notifications in the tab bar (iOS) or bottom navigation bar (Android) > Select the ‘more’ icon (three dots) > Manage push notifications.
Choose which types of notifications you receive (work items you’re assigned, work items you reported, work items you’re watching, or any mentions you receive).
On Android, you can snooze notifications for up to a week (or as little as 20mins), and you can set your working hours. (Coming soon to iOS.)
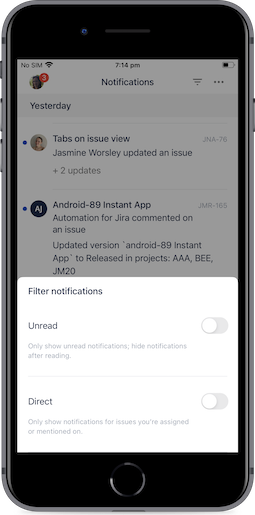
On the notifications screen in the app, you can filter notifications via the notification screen’s filter icon (inverted triangle). Choose to hide notifications after you’ve read them, and/or minimize the noise by only seeing notifications you’re assigned or mentioned on.